


Step 0: Important checklist before you create the app
Configure the ANDROID_HOME environment variable
Open the Windows Control Panel.
Click on User Accounts, then click User Accounts again
Click on Change my environment variables
Click on New... to create a new
ANDROID_HOMEuser variable that points to the path -> C:\Users\your_user_name\AppData\Local\Android\Sdk
Similarly, set an environment variable for java jdk. Usually, it is set by default.
Go to settings and enter the “About” menu.
Now go to “Advanced system settings.” The System Properties dialogue box should appear on your screen.
Click on the “Advanced” tab and select “Environment Variables.”
Click on "New" under System Variables and set the variable name as "JAVA_HOME" and the path as (C:\Program Files\Microsoft\jdk-11.0.18.10-hotspot\)

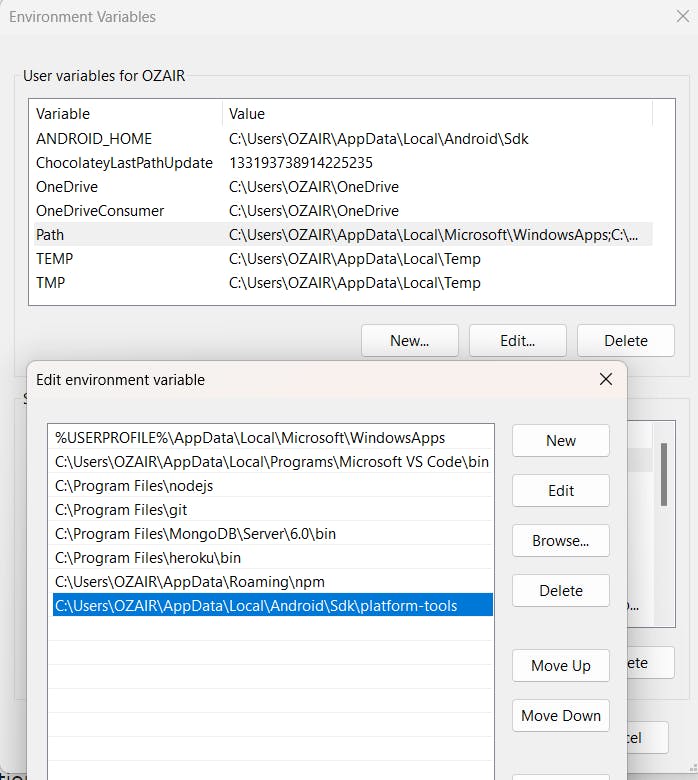
Add platform-tools to the Path variable
Open the Windows Control Panel.
Click on User Accounts, then click User Accounts again
Click on Change my environment variables
Select the Path variable.
Click Edit.
Click New and add the platform-tools path to the list -> (C:\Users\your_user_name\AppData\Local\Android\Sdk\platform-tools)
Now Open Android Studio
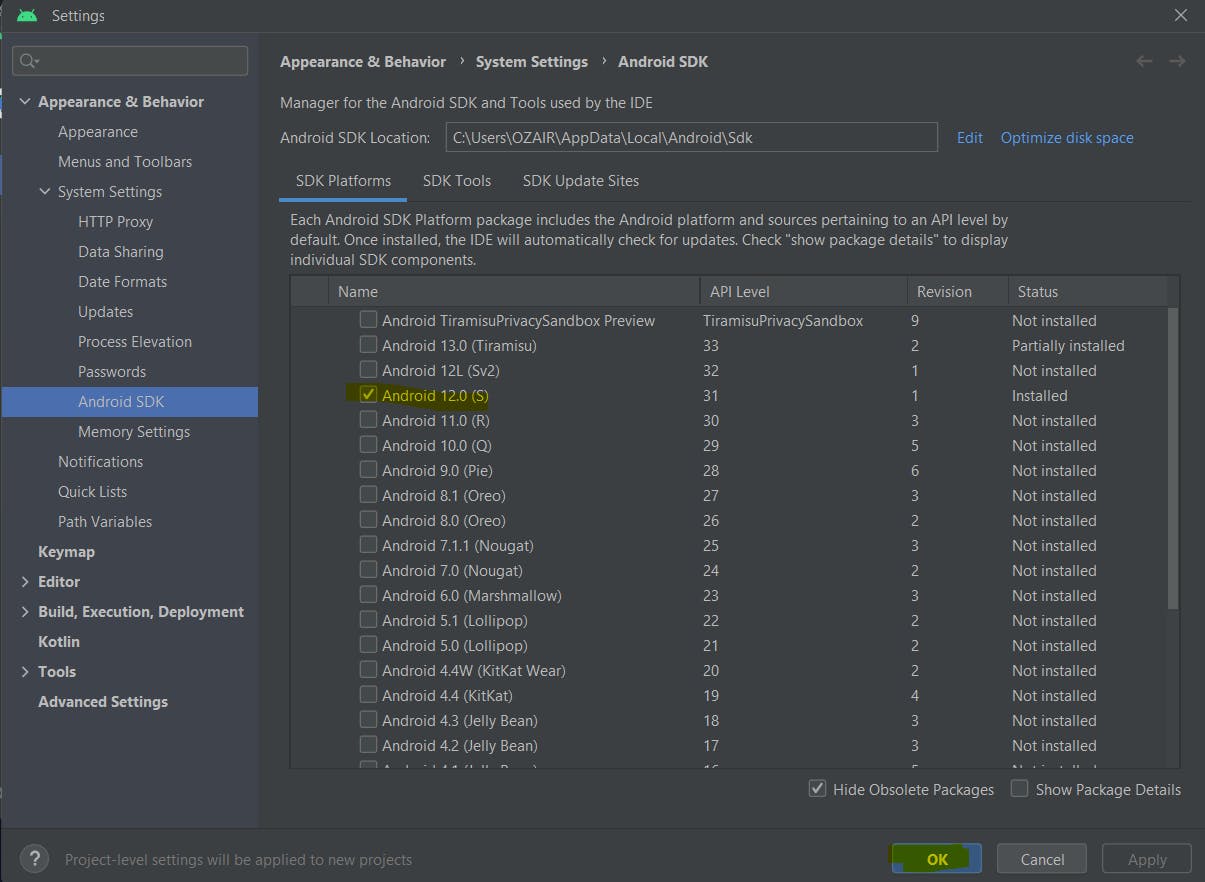
Click on the "More Actions" dropdown and Select "SDK Manager"
Under SDK Platforms tab checkmark "Android 12.0 (S)" and Click on OK to download the SDK
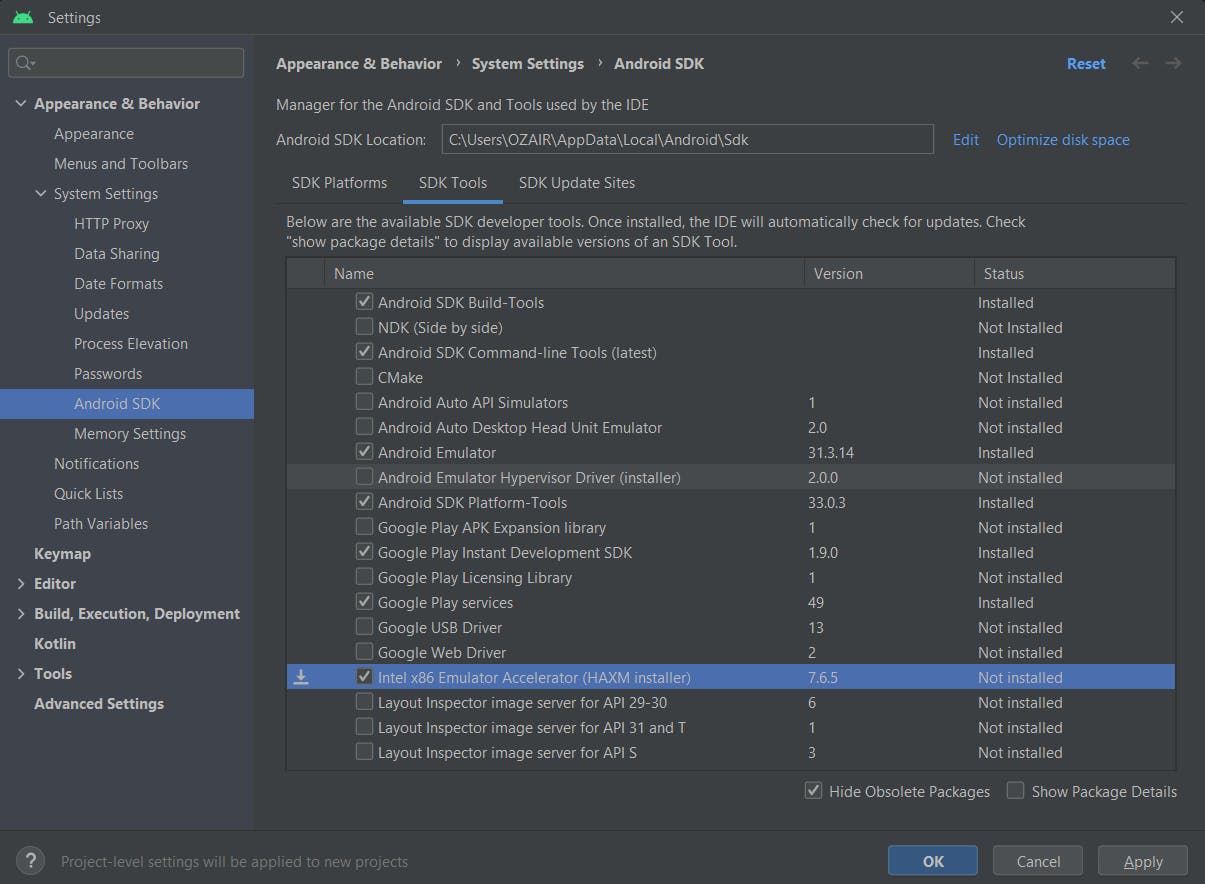
Go to SDK Tool tab, check the following boxes and click OK. It will install all the dependencies and then click on Finish.
a) Android SDK Build-Tools
b) Android SDK Command-line Tools
c) Android Emulator
d) Android SDK Platform-Tools
e) Google Play Instant Development SDK
f) Google Play services
g) Intel x86 Emulator Accelerator (HAXM installer)
Setting Up Mobile
Enable developer options by tapping on the build until it shows the 'You are now in developer mode!' text.
Turn on the "USB debugging"
Turn on "Install via USB"
Select USB Configuration as "MTP" or "File transfer" depending on your mobile.
Step 1: Creating the First App
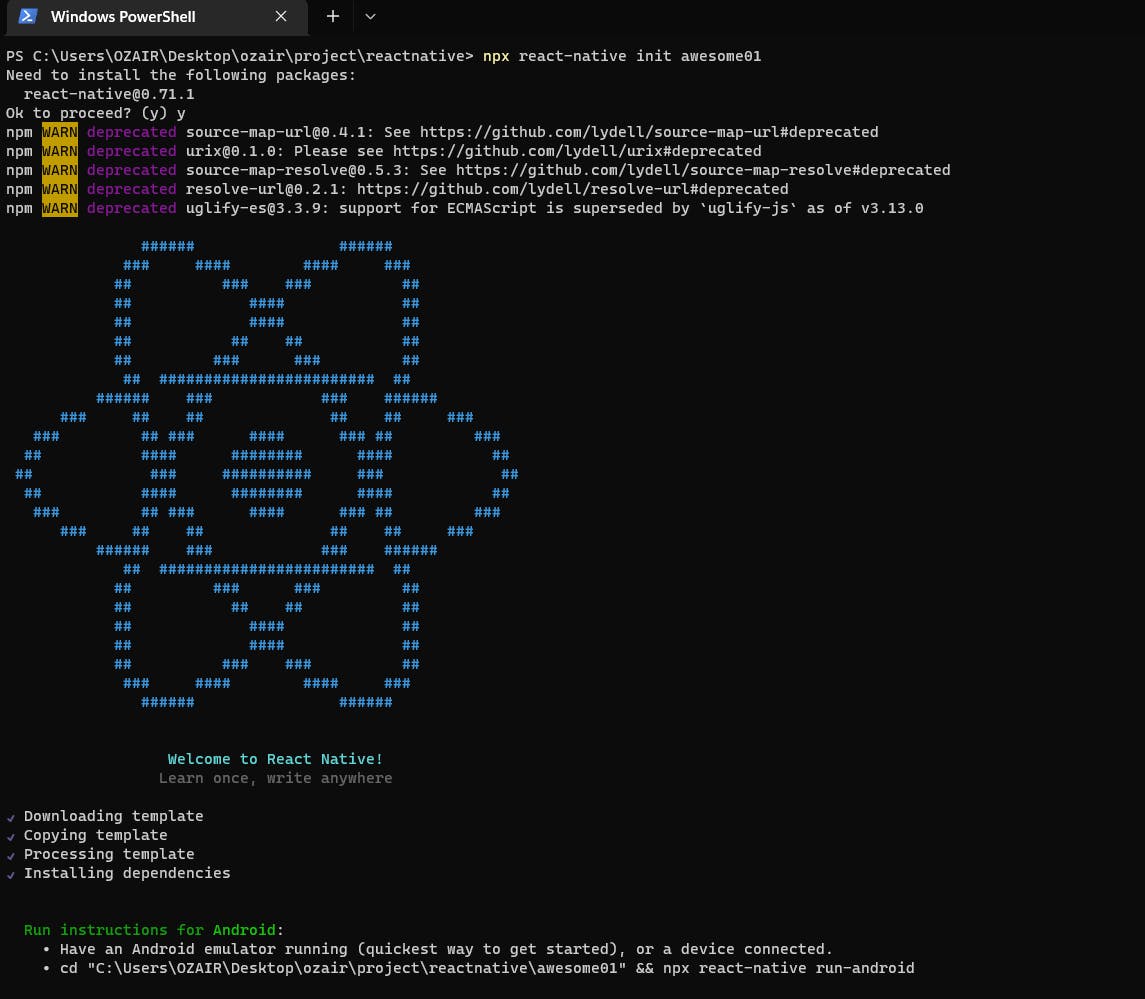
Step 1.1: Open Command Prompt and navigate to the folder where you want to create the app and run the below command
npx react-native init your_app_name
Step 1.2: Now open the project folder in VS Code and open the terminal then run the below command
npx react-native run-andriod
// or
npm start android

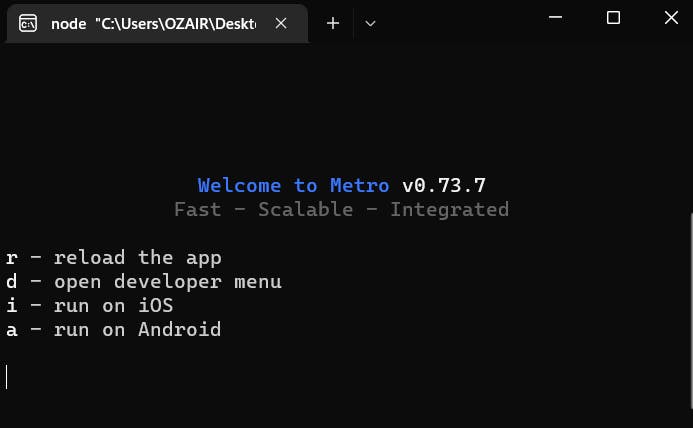
If it successfully executes then it opens a new window and asks to choose android or ios. Type 'a' for android and boom you will see app bundling on mobile.
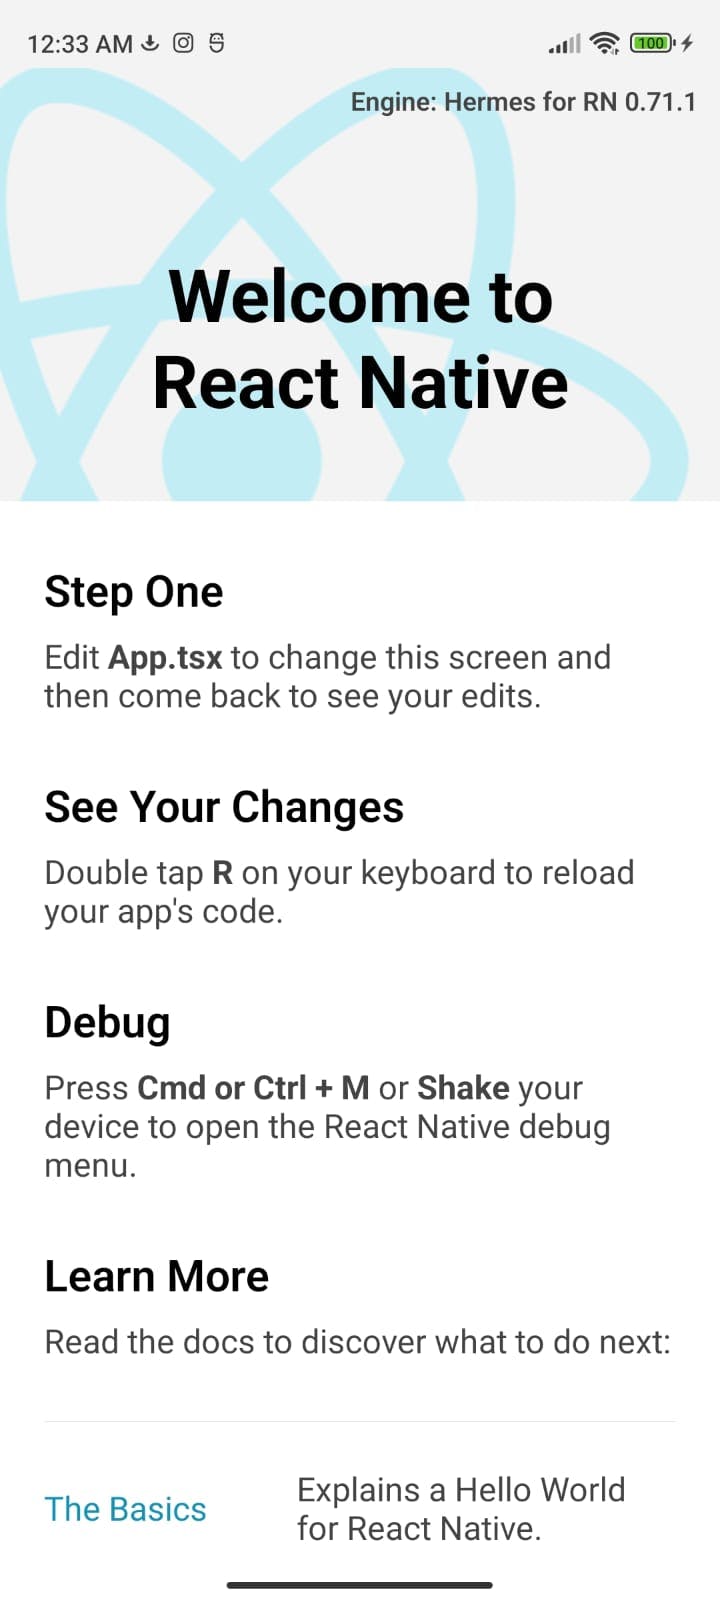
The below screen opens on Mobile.
Errors encountered while creating the app
SDK location not found
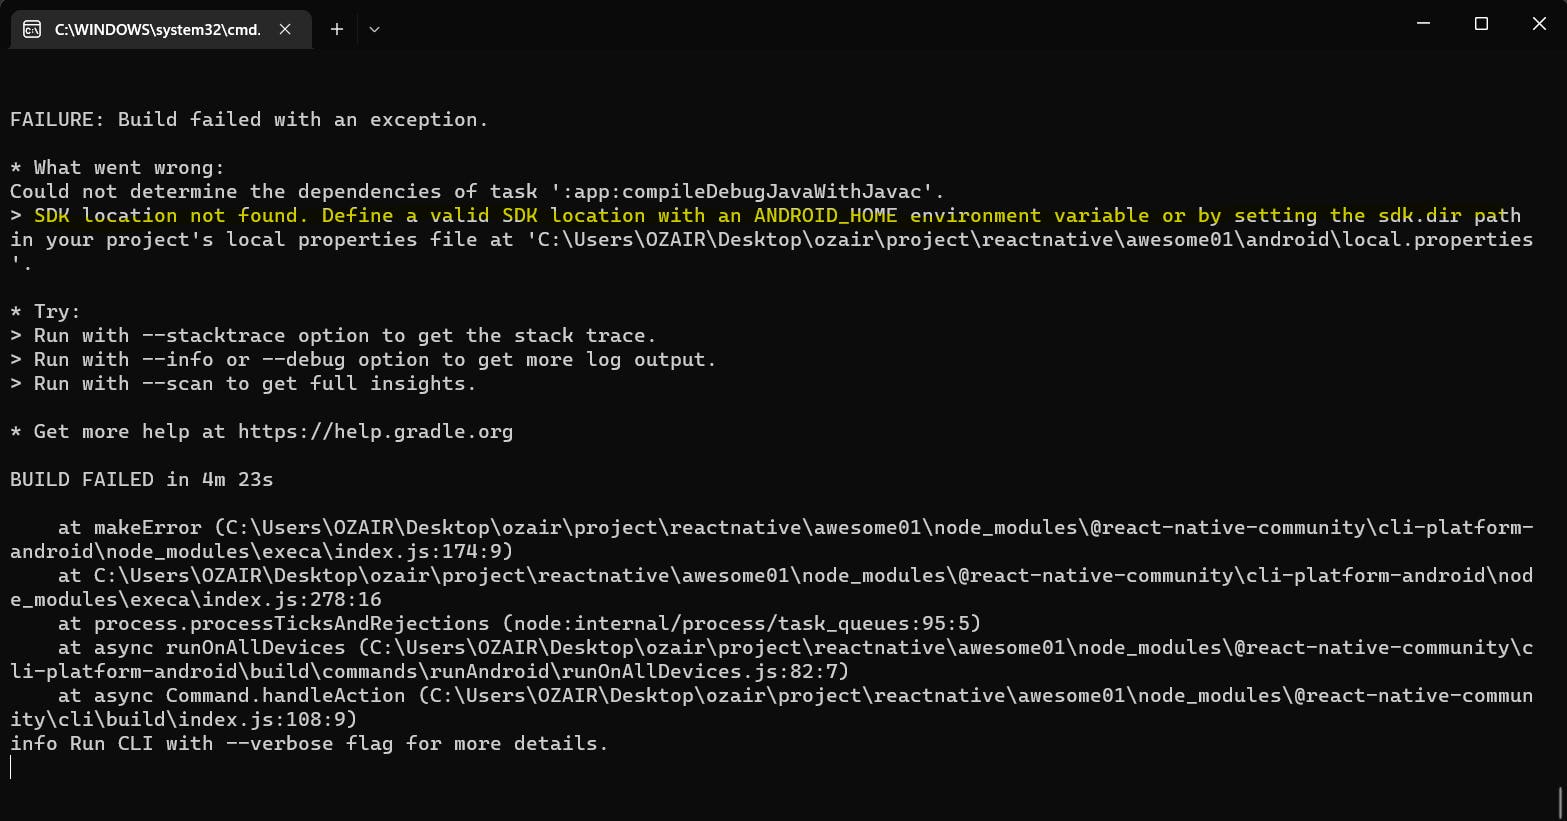
Resolution:
Configure the ANDROID_HOME environment variable (OR)
Create a file local.properties under the android folder and type - sdk.dir=C\:\\Users\\USERNAME\\AppData\\Local\\Android\\Sdk

INSTALL_FAILED_USER_RESTRICTED: Install cancelled by user
Resolution:
- Rechecked developer options in mobile and found some developer options weren't enabled :(
If you have followed everything correctly then you should be able to execute everything without any errors.
Congratulations🥳🥳!! And your first React-Native app is ready.
Stay tuned for more such blogs.